- 最后登录
- 2014-8-28
- 在线时间
- 2562 小时
- 阅读权限
- 150
- 注册时间
- 2008-2-23
- 积分
- 8970
- 帖子
- 4217
- 精华
- 13
- UID
- 22473
 
- 积分
- 8970
- 帖子
- 4217
- 精华
- 13
- UID
- 22473

|
转自作者的blog
~The Making of The Petaminx
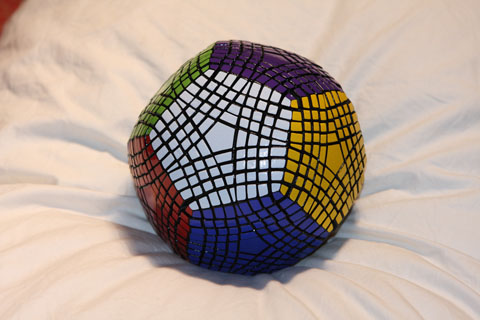
The Petaminx is a face turning dodecahedral puzzle with 4 slices per face.
On December 29th 2008, designer Andrew Cormier posted free STL files for the Petaminx on the Twisty Puzzles forum.
http://twistypuzzles.com/forum/v ... &hilit=petaminx
I'd like to thank Andrew for making
~FDM Masters
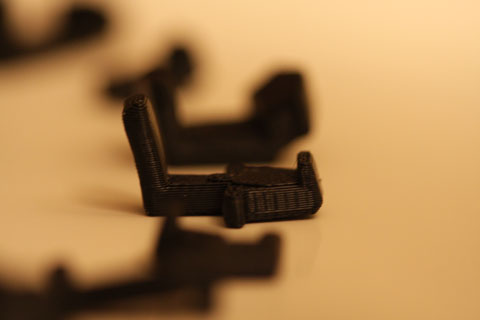
An FDM print was done first to test fit all the parts, and ensure that the design would work at this size.�The core for the final puzzle was also included in this test print.
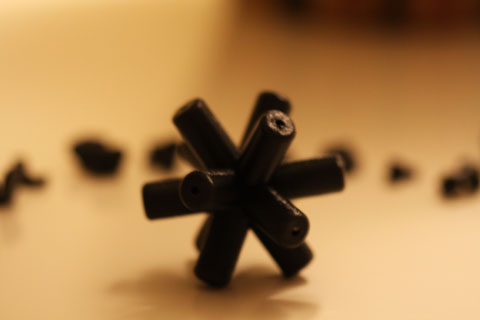
FDM prints have noticable scanline artifacts, but they are still very very faithful to the desired shape.
~polyJet Masters
Once the FDM test print was a success, a print was ordered in polyJet.
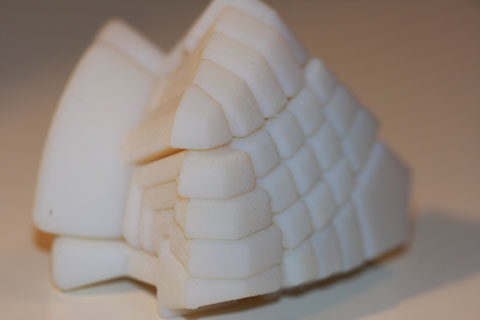
Polyjet is higher resulution than current FDM machines. Very, very small scanlines can still be seen in the right light, but youcan see in this image that it is a noticable difference between FDM (black on the left) and polyJet (white on the right).
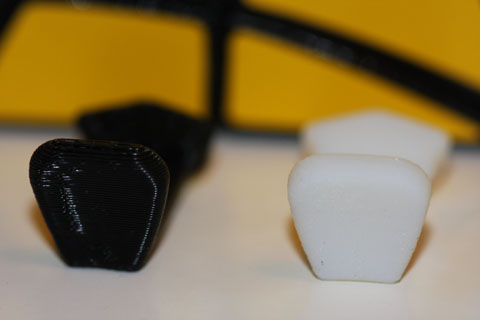
Polyjet can have a rough texture if the support material wasn't removed all the way. Take it from me-- Do whatever it takes to remove all the support material before making your molds, or you will have a rough texture on every part you make.
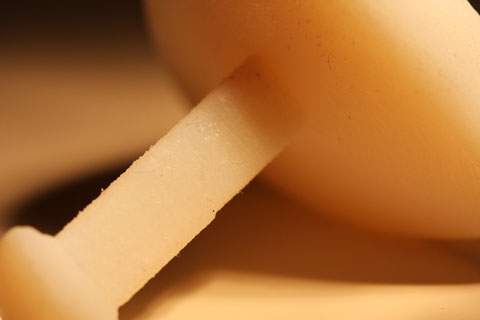
~Cleaning the Masters�The support material was removed by soaking in a basic solution and then brushing with a stiff nylon grout brush.

~Molds
Circular silicone molds were made for spincasting. The molds are spun in a small machine while resin is poured in the center. This method can help alleviate problems with airbubbles.
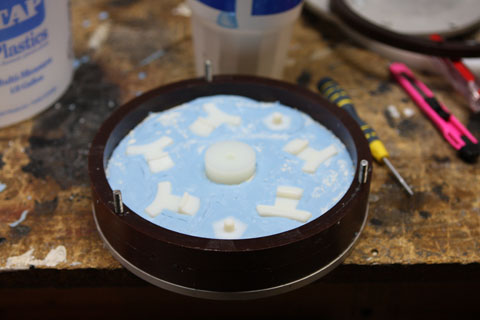
These are the molds for most of the smaller parts in the Petaminx. This mold has 30 parts, and it had to be run 30 times, plus extras for rejects and parts used to make assembly jigs later.
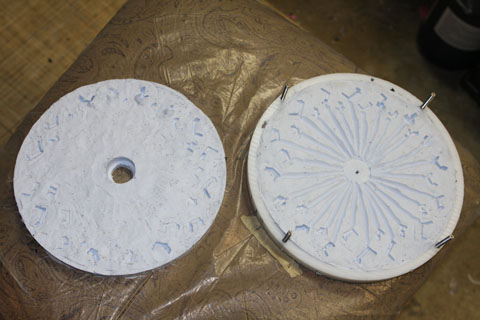
~Casting the Parts�Casting the required parts took a few days part time. While one mold was curing, I emptied and prepped another.
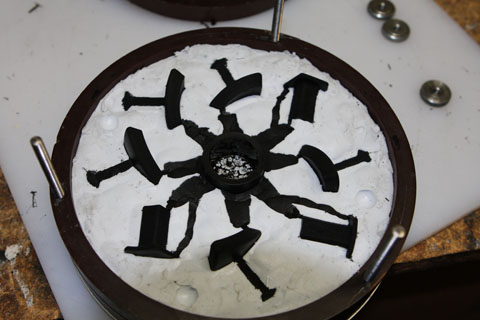
With some practice, I was able to reduce flashing considerably.
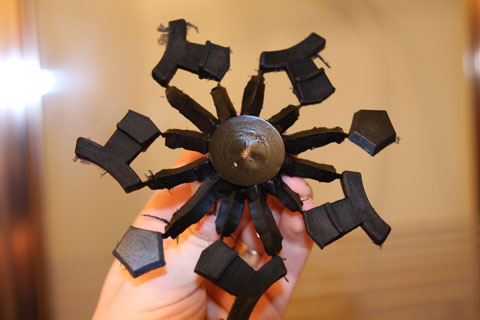
Each completed set of parts was stacked in a cardboard box for cleanup later.
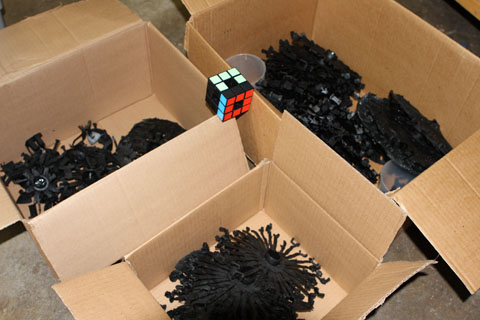
~Cleaning and Sanding Parts�Once all 974 parts were cast, they each had to be cleaned, sanded and prepared by hand. This process involves removing any sprueremaining, removing all flash, and sanding any rough areas.
Each part took 1 or 2 minutes, or more, to clean. Cleaning took about 30 hours.
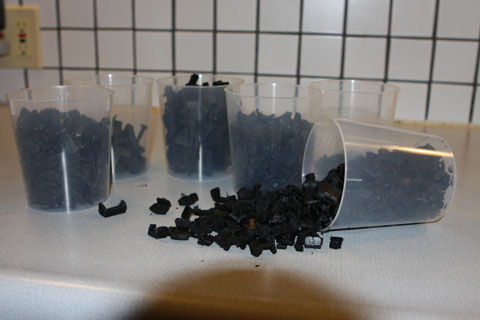
~The Core
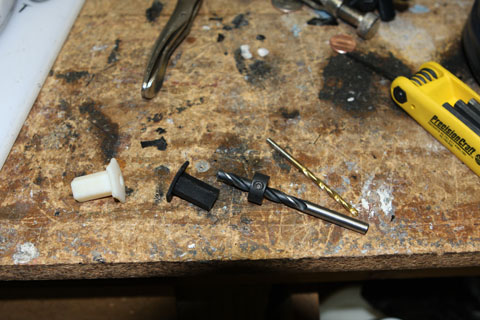
The centers were cast with pilot holes only, and had to be drilled hollow. A dril-stop was used to set the depth on the appropriate sized bit, using a polyJet master as reference.
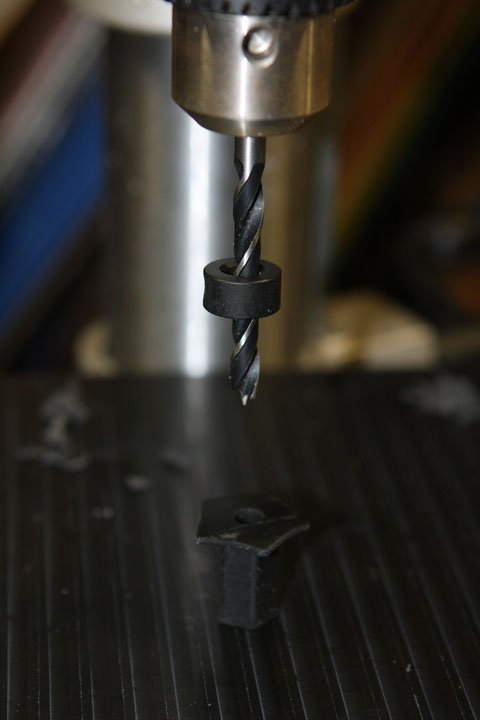
Drilling the holes with a drill press helped ensure that they were absolutely vertical.
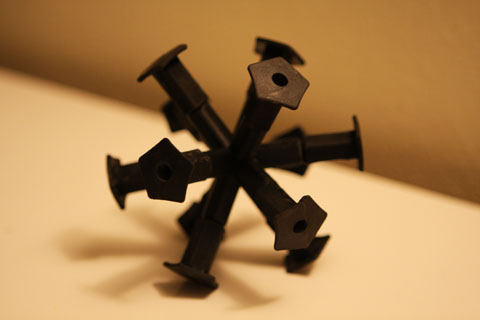
Once all centers were drilled, the core was assembled.
~Assembly
Sets of parts were superglued together to form rigid bridges that were used as assembly jigs. They allowed me to stack parts safely until an entire face was completed, and then flip the puzzle over.
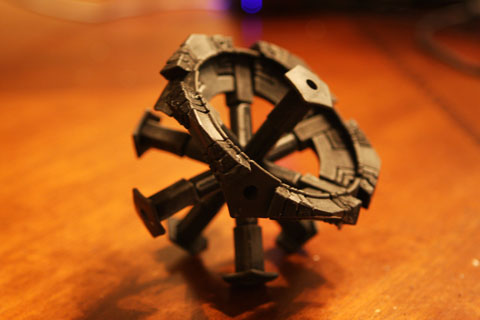
Assembly was about a 7 hour process, and I won't narrate too much about it. Here's a string of photos that give a good idea of the slow progress.
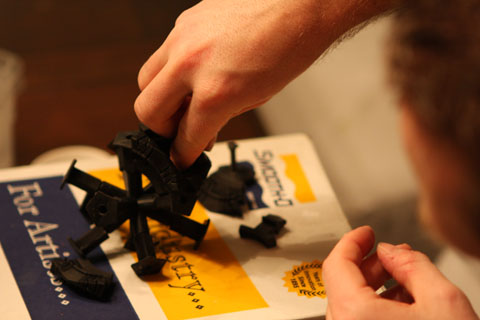
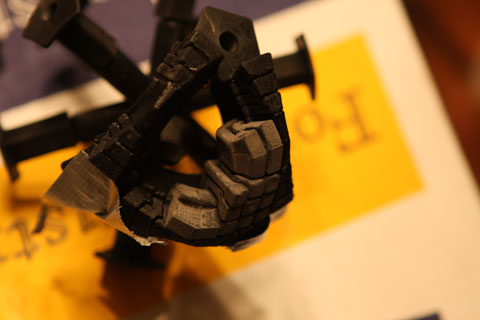
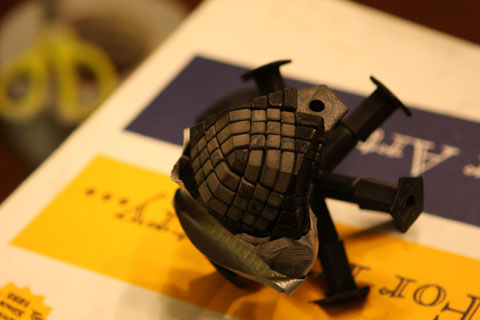
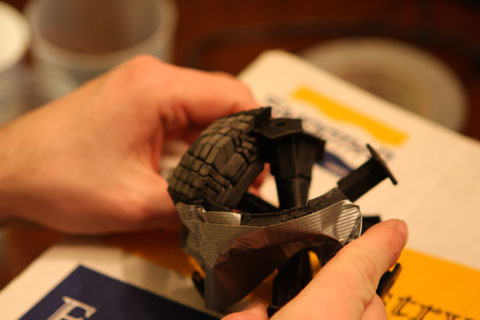
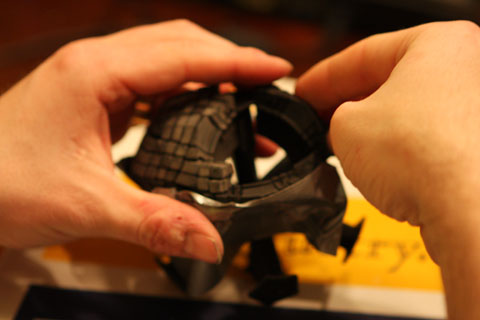
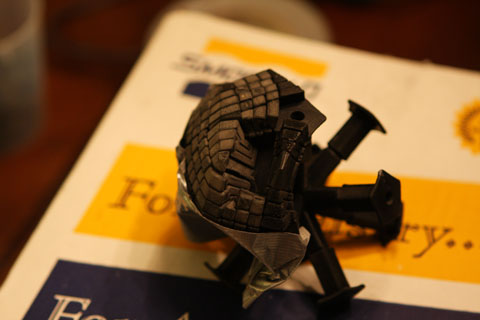
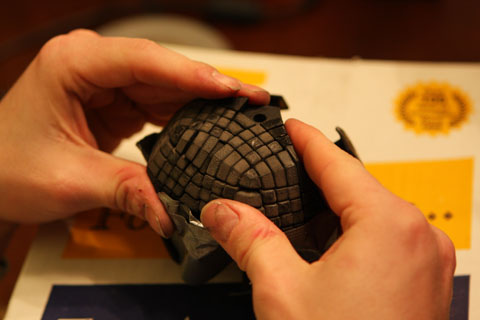
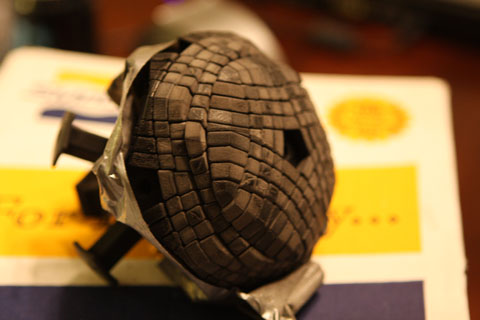
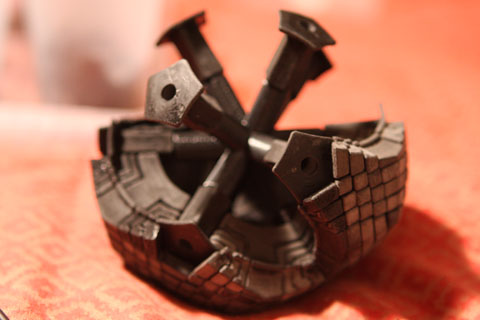
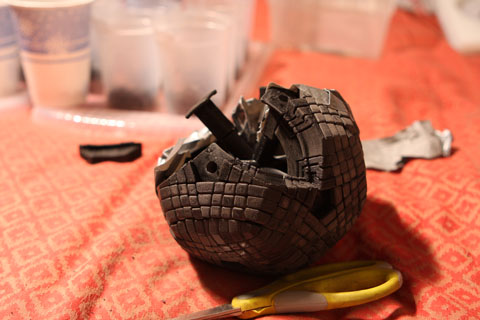
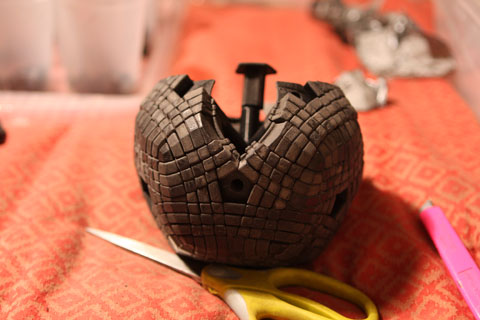
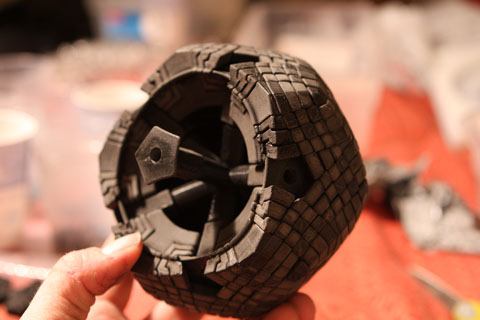
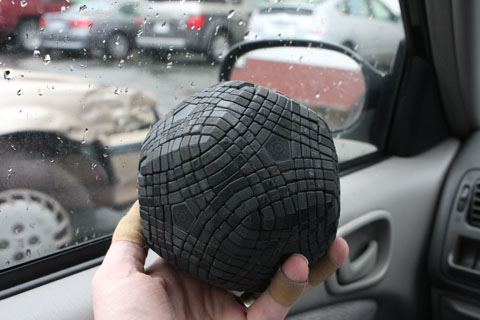
Yes, I finished assembling the puzzle in my car on a lunch break.
~Stickering
The puzzle was painted with gloss black before stickering. The puzzle contains over 1200 stickers, and each one must be placed by hand, one at a time. With some practice, I was able to sticker a face every 30 minutes. Total stickering time was about 6 or 7hours.
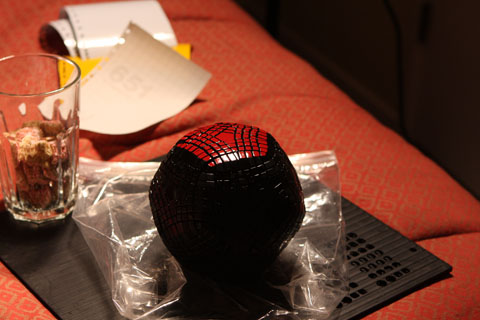
I used Drewseph's color scheme as far as my available Vinyl colors would allow, and then I improvised.
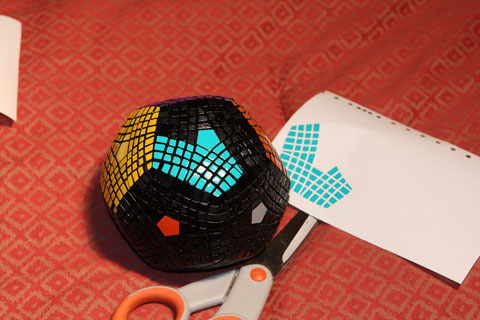
~The Final Result

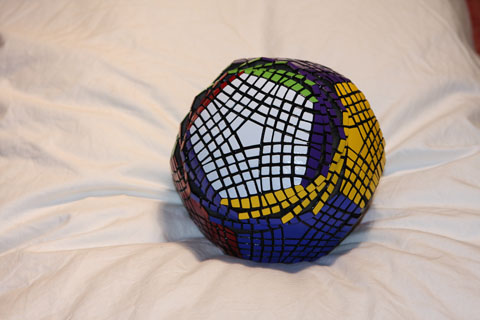
Thanks again to Andrew Cormier for making this amazing design available for builders.
Here are some fun stats:
The puzzle has 975 individual parts.
Each face has 101 stickers, making a total of 1212 stickers.
20 hours on masters and molds.
12 hours casting parts.
30 hours cleaning up parts and sanding (!!)
7 hours assembling all 975 parts
6 hours stickering.
[ 本帖最后由 tonylmd 于 2009-3-13 12:12 编辑 ] |
-
总评分: 经验 + 18
查看全部评分
|